Deploy mkdocs site with netlify
We can deploy mkdocs site to netlify:
1, Connect repo
Connect a github/gitlab repo to netlify
2, Add 2 files: runtime.txt and netlify.toml
In the repo which uses mkdocs, (make sure you are using Python3), add two files: runtime.txt and netlify.toml
runtime.txt:
1 | 3.8 |
netlify.toml:
1 | [build] |
3, Change build image
The first deploy in Netlify may fail b/c by default it is using the Ubuntu 14.04 image which doesn’t have Python3.8 installed. We need to go to “Site settings > Build & Deploy > Build image selection” section, change the image to Ubuntu 20.04:
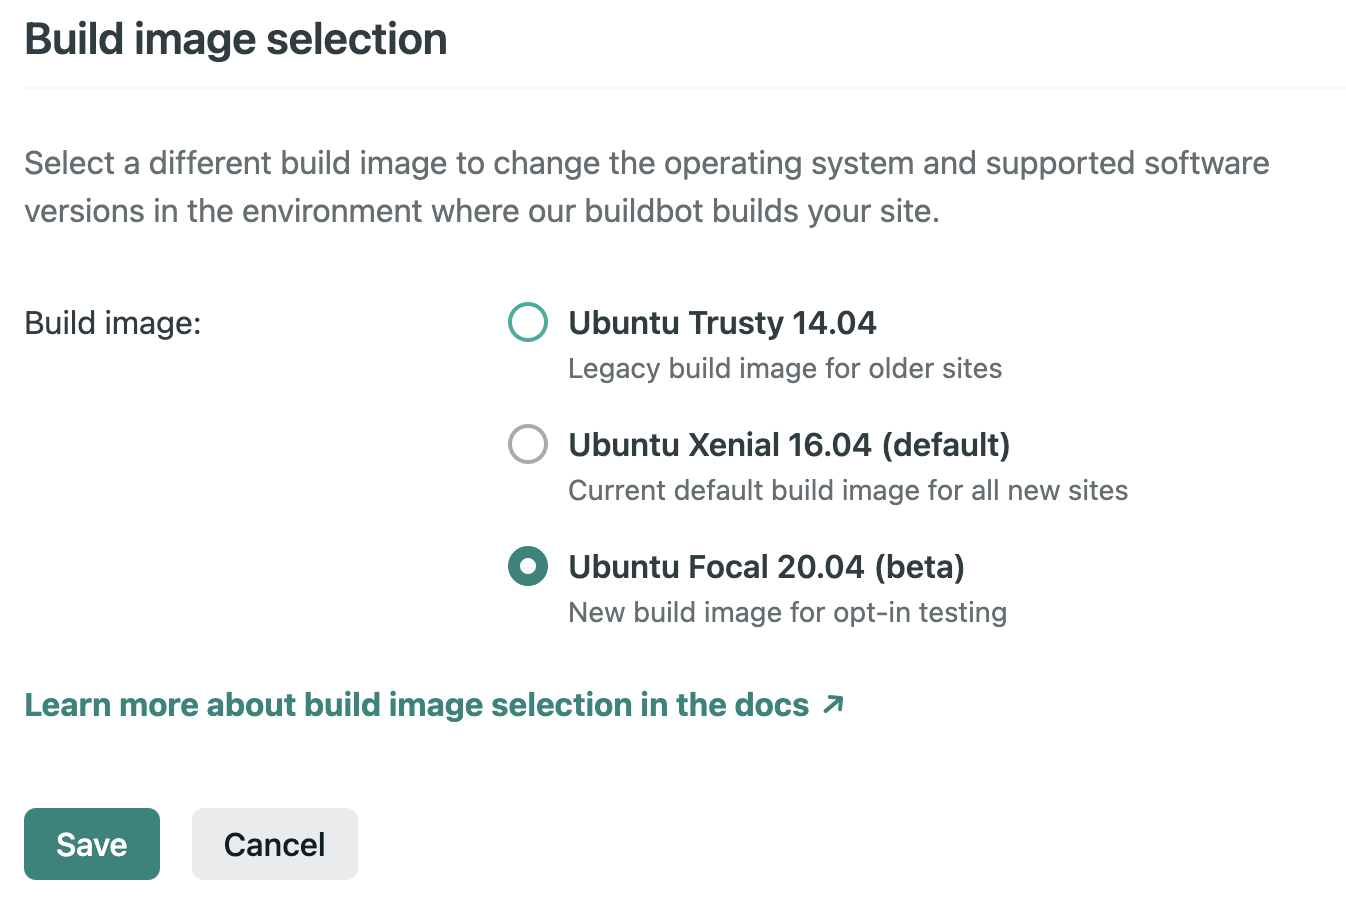
Save it and retry deploy, it should be succeed this time.
4, Bind custom domain (optional)
Once deployed, Netlify will deploy site at a random domain like “abcd.netlify.app”. If you want to use your own domain (for example, blog.mysite.com), go to “Site settings > Domain management”, then “Add domain alias”, set it to “blog.mysite.com”. Then go to your DNS host, e.g. CloudFlare, go to CloudFlare, add a “CNAME” to your domain and point it to your site’s netlify.app domain
1 | CNAME, blog, abcd.netlify.app |

We are all set, now you should be able to visit your site at https://blog.mysite.com.